|
Welcome to our new feature on our website. Friend, fan, and model builder, "Simon Mercs"
will be submitting many one-on-one tips on how to build, paint, and restore your
special diorama for your collection. This page will be updated each weekend by
Simon. We hope you like this new section, and if you have any questions for Simon,
please send them to us.
"Building the Voyage to the Bottom of the Sea - Flying Sub!"
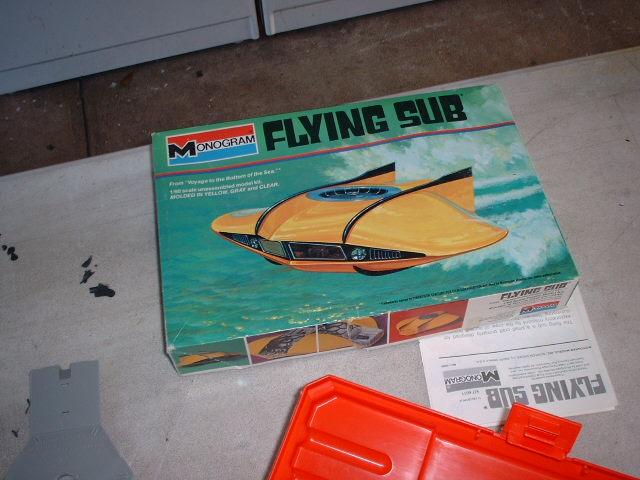
Ok! Here's the first Chapter of the Flying Sub Assembly.
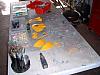
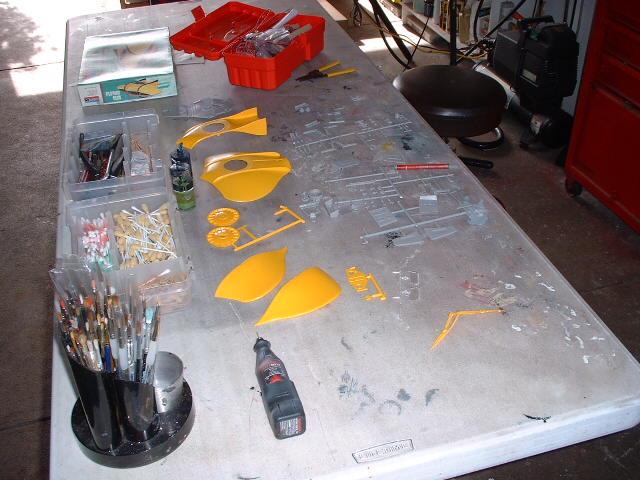
Day one, like all my projects, you start at the beginning. Cut away parts to be pre-painted.
Sand and cut away flash and all that gook. All parts are checked and cleaned. The electronics parts are checked and set aside for now. Once this is done, I begin with the interior of the Cabin panels, and the exterior striping details. As usual, when Airbrushing details, I use a good quality Frisket masking material to protect areas not meant to be painted. This process is crucial to get right, or paint will seep and ruin the finish.
It's a good idea to press the Frisket flat as possible with a blunt wooden tool, to get creases and bubbles out. A toothpick run in the corners will help stick those edges down better. Spray lightly as thick coats run and blob. Much better to do many light coats than one thick one.

 (Click on thumbnails to see larger image)
Time spent today, about 8 hours.
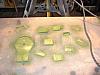
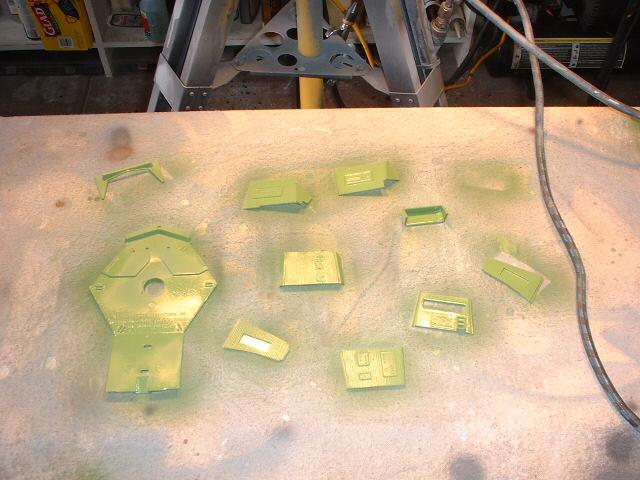
Our project continues into a second day. Masking Frisket is removed from the Top and Bottom Hull pieces. Not bad! A smear here and there, but easily cleaned. Before I can start to build the interior, I have to get the location of the Stand Stem figured out. Since the interior sprawls all over the cabin, you have do it at this stage. It's a bit like Chess, you have to think many moves ahead. That's all done in the days prior to construction, the Planning stage. The Female part of the Coupler is cut down and pre-drilled to allow the wires running from the Power Base to go throughout the prop. The Cabin Floor Diver's Hatch is altered to allow those same wires to pass through under the Floor. The top of the Coupler must be flush with the floor to allow a detail "Hatch" to cover the connection/stand point. This will be apparent later on.
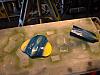
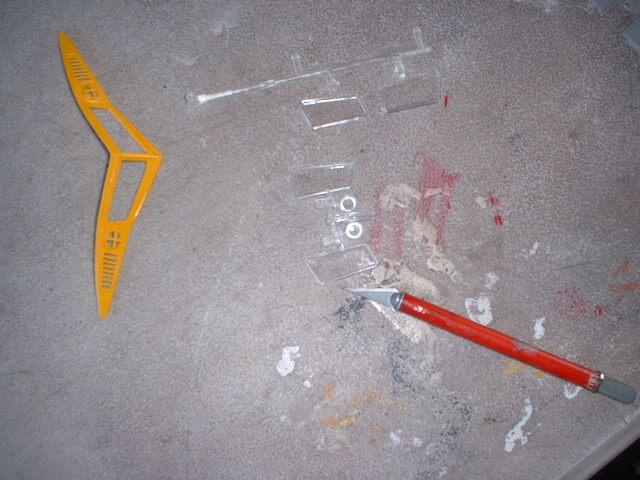
The Engines, which light up in the rear of the Sub, are prepped to test fit the LED Diode that will be installed there. The Engine parts are very small, less than 2 inches long when assembled. The drilling must be accurate, an off-center hole will ruin the effect. The leads will go into the floor, through pre-drilled holes in the Engine bottom sections, almost invisible.
.jpg)
.jpg)
.jpg)
.jpg)
.jpg)
.jpg)
.jpg)
.jpg)
.jpg)
.jpg)
.jpg)
.jpg)
.jpg)
.jpg)
.jpg)
.jpg)
.jpg)
.jpg)
.jpg)
.jpg)
.jpg)
.jpg)
.jpg)
.jpg)
.jpg) (Click on thumbnails to see larger image)
(Click on thumbnails to see larger image)
Time spent today 9 hours.
Simon Mercs www.thekitfactory.com
|
 HOME
HOME
 About
About
 EMail Me

.JPG)
.JPG)
.JPG)
.JPG)
.JPG)
.JPG)
.JPG)
.JPG)
.JPG)
.JPG)
.JPG)
.JPG)
.JPG)
.JPG)
.JPG)
.JPG)
.JPG)
.JPG)
.JPG)
.JPG)
.JPG)
.JPG)
.JPG)
.JPG)
.JPG)
